Jul 16, 2026
 95
95
 LICHI
LICHI
Three-Jaw Chuck Not Gripping Tightly? Don’t Replace It Yet — Check These Points First
July 16, 2026 — Industry Technical News
On the shop floor, it's common to hear operators complain: "The chuck keeps slipping, it won't grip tight. I'll probably have to replace the whole thing." When a three-jaw self-centering chuck loses grip, causing workpiece slippage or excessive runout, it can lead to scrap at best and serious safety incidents at worst. However, rushing to replace the entire chuck is not only costly and time-consuming but often fails to address the root problem. In many cases, "clamping failure" does not mean the chuck itself is worn out; it comes down to overlooked details in daily maintenance and setup. The following troubleshooting points could help your old chuck regain its gripping force and save you unnecessary replacement costs.
1. Give the Chuck a Thorough Cleaning — Internal Chips Are the Number One Silent Killer
Fine cast iron and steel chips generated during machining easily slide down the jaw guide slots and accumulate inside the chuck body, packing between the scroll plate and the jaw teeth. Once debris clogs the spiral groove, jaw movement is obstructed, and a large portion of the input torque is lost. The typical symptom is that the wrench feels excessively tight, yet the workpiece remains loose.
Solution: Completely remove all three jaws and flush the inside of the chuck body repeatedly with kerosene or a dedicated cleaner. Use a brass wire brush to clean out all compacted debris from the tooth surfaces and the spiral groove until the mechanism turns smoothly without any gritty feel. After cleaning, dry thoroughly with compressed air and re-lubricate the tooth surfaces and scroll groove with molybdenum disulfide grease or extreme-pressure chuck grease. For many aging chucks, this step alone can restore the gripping force to near-original levels.
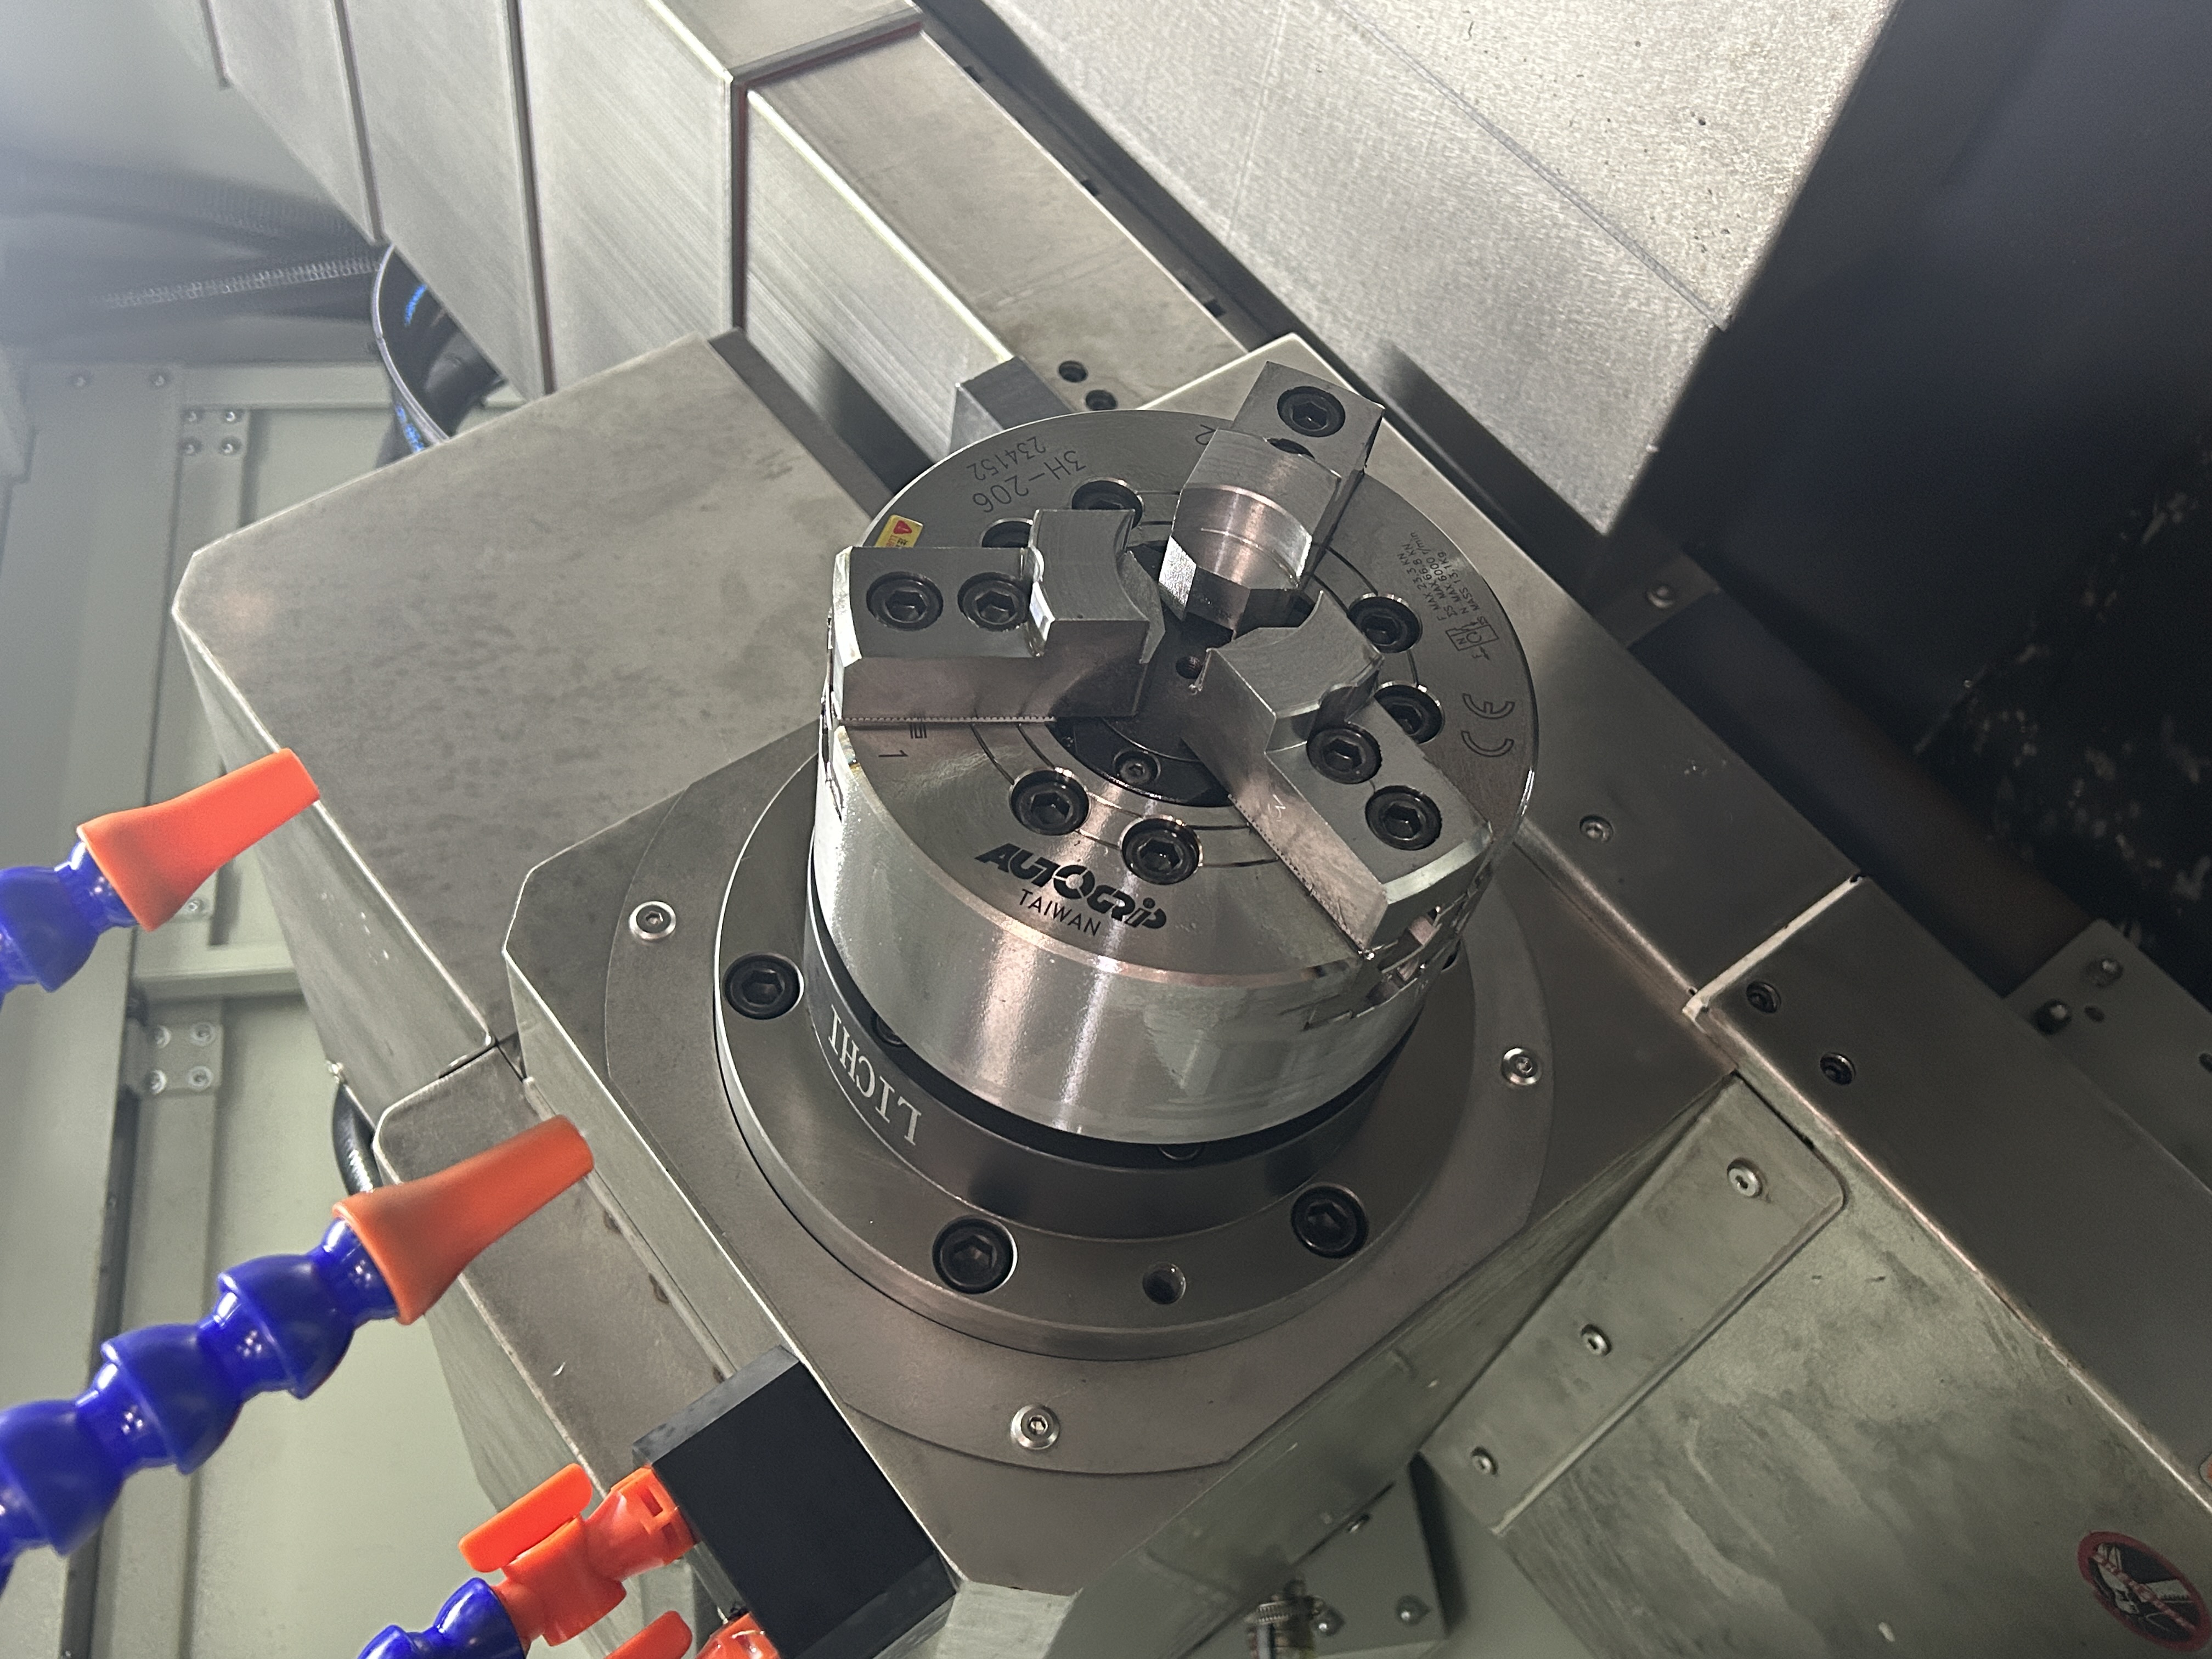
2. Check for "Bell-Mouth" Jaw Wear — Once It Exceeds Tolerance, Clamping Becomes Unreliable
When the same bar stock diameter is clamped for a long time, a stepped wear pattern tends to form on the jaw gripping surface near the chuck face, creating a "bell mouth" condition. This means only the very back of the jaw makes contact with the workpiece while the front leaves a gap, pushing the workpiece outward, causing oval turning and chatter.
How to check: Mount a precision test bar, use a dial indicator to measure runout near the chuck face and at a distance from the chuck face; alternatively, inspect the jaw gripping surfaces for visible steps. Slight wear can be corrected by in-situ grinding of the jaws with a jaw truing fixture on the machine. If the wear depth exceeds 0.05 mm, replacing the jaws or having them re-bored by a specialist is recommended — do not try to make do.
3. The Jaw Numbering and Installation Sequence Must Be Strictly Followed
Every jaw on a three-jaw chuck has a unique mesh with the scroll thread. The jaws are usually stamped with numbers 1, 2, and 3, and there are corresponding marks on the chuck body slots. When installing, you must follow the sequence — jaw No. 1 first, then No. 2, and finally No. 3 — turning them in along the thread until all three jaws converge simultaneously at the center.
If the order is mixed up, it will lead to incomplete thread engagement and a sharp drop in gripping force at best, or damaged scroll teeth and cracked jaws at worst. Always check the numbering before disassembly and make "one jaw to one slot" a standard practice. If the numbers are worn off, test-assemble to find the unique combination where all three jaws screw in smoothly and without binding.
4. Don't Just Focus on the Chuck — The Manual Wrench and Square Drive Can Also Cause "Power Loss"
A manual chuck relies on the wrench driving the pinion gear, which then turns the scroll. If the square drive hole has rounded corners or the wrench fits loosely, a lot of the applied force is wasted, and the actual torque transmitted to the jaws is greatly reduced. Likewise, worn pinion gear teeth or a bent pinion shaft drastically lower transmission efficiency.
During inspection, check whether the square hole profile is sharp and distinct, and whether the wrench jumps or makes abnormal noises when turned. Severely worn square holes can be repaired with a bushing insert; worn gears only require replacing the gear set, which is far cheaper than replacing the entire chuck.
5. Hydraulic or Pneumatic Chucks — The Problem Is Often in the Power Source
For a hydraulic chuck that "won't grip tight," the fault often lies in the hydraulic power unit or rotary cylinder rather than the chuck itself. Check in sequence: Is the system pressure reaching the rated value (typically 1.5–3.5 MPa)? Is there internal leakage in the cylinder? Are the drawtube connection threads loose, stretched, or broken? Are the accumulator and pressure holding valve functioning correctly?
A classic symptom is that the clamping feels normal at first but the workpiece loosens during machining — this usually points to leakage in the pressure holding circuit. Blindly increasing system pressure is highly ill-advised, as it can deform the workpiece and damage chuck components. The correct approach is to troubleshoot the oil circuit seals and hydraulic components.
6. Don't Let the Workpiece Take the Blame Without Realizing It
After ruling out the above factors, you also need to examine the workpiece itself: if the gripping surface has scale, is too smooth, suffers from poor roundness, or has excessive overhang with insufficient rigidity, it can easily slip under cutting forces, giving the false impression that the chuck is failing.
Improvements include: rough turning the gripping area to remove the skin, adding a copper shim or emery cloth to increase friction, and using a steady rest or follow rest to improve rigidity. Only by eliminating workpiece-related factors can you accurately assess the chuck's true condition.
Conclusion
The three-jaw chuck is a core functional component for precise workpiece positioning and clamping, and the percentage of chucks that genuinely need to be scrapped is quite low. The vast majority of "weak gripping" problems can be resolved through cleaning and lubrication, inspecting worn parts, standardizing assembly procedures, and diagnosing the power source. Adhering to the daily routine of "frequent cleaning, frequent lubrication, and light tapping for alignment" not only improves machining accuracy but also allows one chuck to serve reliably for many extra years. Before you spend money on a replacement, go through the above points one by one — your chuck may be much more durable than you think.

No.1-2, Maning Village Committee Industrial Zone, Xingtan Town,Shunde District, Foshan City,Guangdong,China
+86 18923287232
lichicnc@gmail.com